
Want to perfect your makeup game? Discover this easy makeup tutorial, step by step, to achieve a flawless look effortlessly. Perfect for beginners and beauty enthusiasts alike.
Let’s face it: the world of makeup can feel like a jungle. With endless products, techniques, and trends, it’s easy to get overwhelmed. But what if I told you that achieving a flawless look doesn’t have to be rocket science? Whether you’re prepping for a big night out or just want to nail that everyday look, this easy makeup tutorial, step by step, has got you covered. So grab your makeup bag, and let’s dive right in.
Table of Contents
Getting Started: Prepping Your Canvas
Before you even think about applying makeup, it’s crucial to prep your skin. After all, a painter wouldn’t start on a dirty canvas, right?
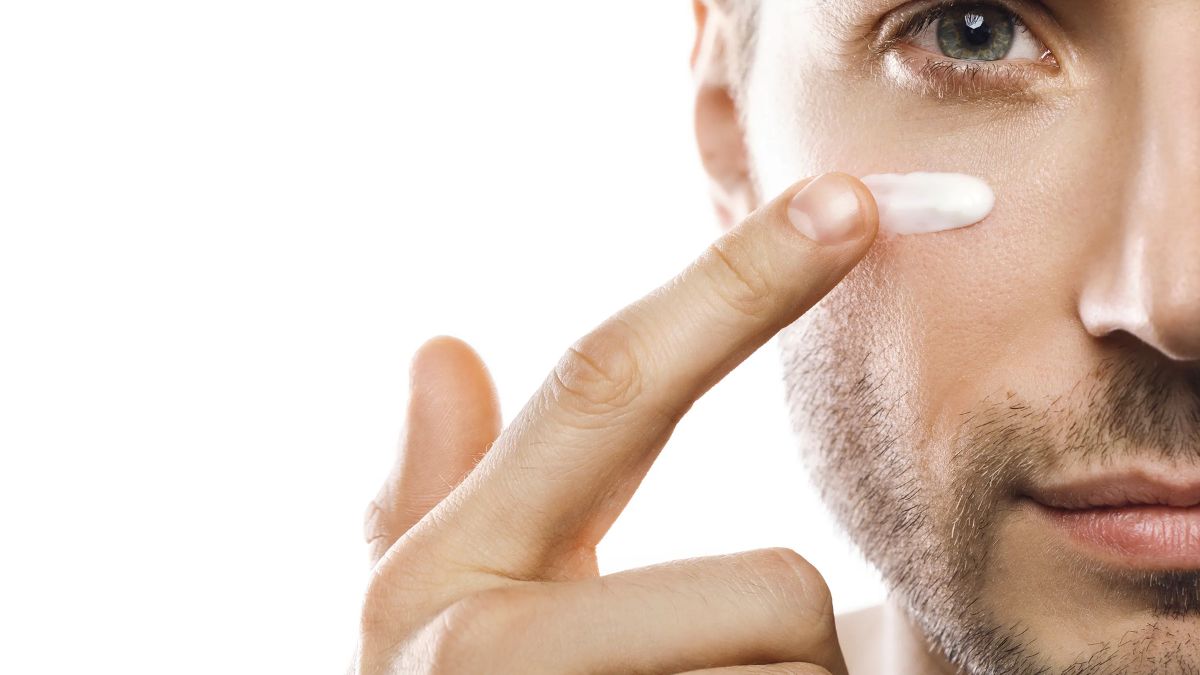
1. Cleanse and Moisturize
First things first, cleanse your face to remove any dirt or oil. A clean face is the foundation of a smooth makeup application. Follow up with a good moisturizer. Hydrated skin not only feels amazing, but it also helps your makeup blend better and last longer.
- Tip: If you’ve got oily skin, opt for a gel-based moisturizer. For dry skin? A richer cream is your BFF.
2. Prime Time
Now that your skin is prepped, it’s time to prime. Think of primer as the glue that holds everything together. It smooths out your skin, minimizes pores, and helps your makeup stay put. Apply a small amount to your T-zone (forehead, nose, and chin) and blend outwards.


Creating a Flawless Base
Your base is the foundation (pun intended) of your entire look. Nail this step, and you’re halfway there!
3. Foundation or BB Cream?
Not sure whether to reach for foundation or BB cream? Here’s a quick rundown:
- Foundation: Offers more coverage and is perfect for those days when you want a full-glam look. Apply it with a damp beauty sponge for a seamless finish.
- BB Cream: Lightweight and great for an everyday, natural look. You can apply it with your fingers (yes, really!) for a quick and easy application.
For both options, start in the center of your face and blend outwards. This method ensures that you don’t end up with a mask-like effect.
4. Concealer Magic
Got dark circles, blemishes, or redness? That’s where concealer comes in. Apply it under your eyes in a triangular shape, over any blemishes, and around the nose where redness tends to peek through. Blend it out with your fingers or a small brush.
- Tip: Use a concealer that’s one shade lighter than your foundation to brighten up your under-eye area.
5. Set It and Forget It
To lock everything in place, dust a translucent powder over your face. Focus on the areas where you tend to get oily, like your T-zone. But don’t go overboard! You want to avoid that cakey look.


Adding Dimension: Contour, Blush, and Highlight
Now that your base is on point, it’s time to add some dimension and bring your face to life.
6. Contouring 101
Contouring might sound scary, but it’s easier than you think! Grab a contour powder or cream that’s a couple of shades darker than your skin tone. Apply it under your cheekbones, along your jawline, and around your hairline. Blend, blend, blend until there are no harsh lines.
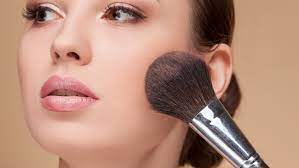
7. Rosy Cheeks
Blush adds a healthy, youthful glow to your face. Smile and apply a rosy or peachy blush to the apples of your cheeks, blending it slightly upwards towards your temples.
8. Highlight the High Points
Want that lit-from-within glow? Highlighting is your secret weapon. Apply a shimmery highlighter to the high points of your face: the tops of your cheekbones, down the bridge of your nose, and a dab on your cupid’s bow.
- Tip: For an extra pop, apply a tiny bit of highlighter to the inner corners of your eyes.

Eyes That Mesmerize: A Step-by-Step Guide
Your eyes are the windows to your soul—let’s make them pop!
9. Brows That Wow
Well-groomed brows can make all the difference. Start by brushing your brows with a spoolie brush to get them in shape. Use a brow pencil or powder to fill in any sparse areas, following the natural shape of your brow. Finish with a brow gel to keep everything in place.
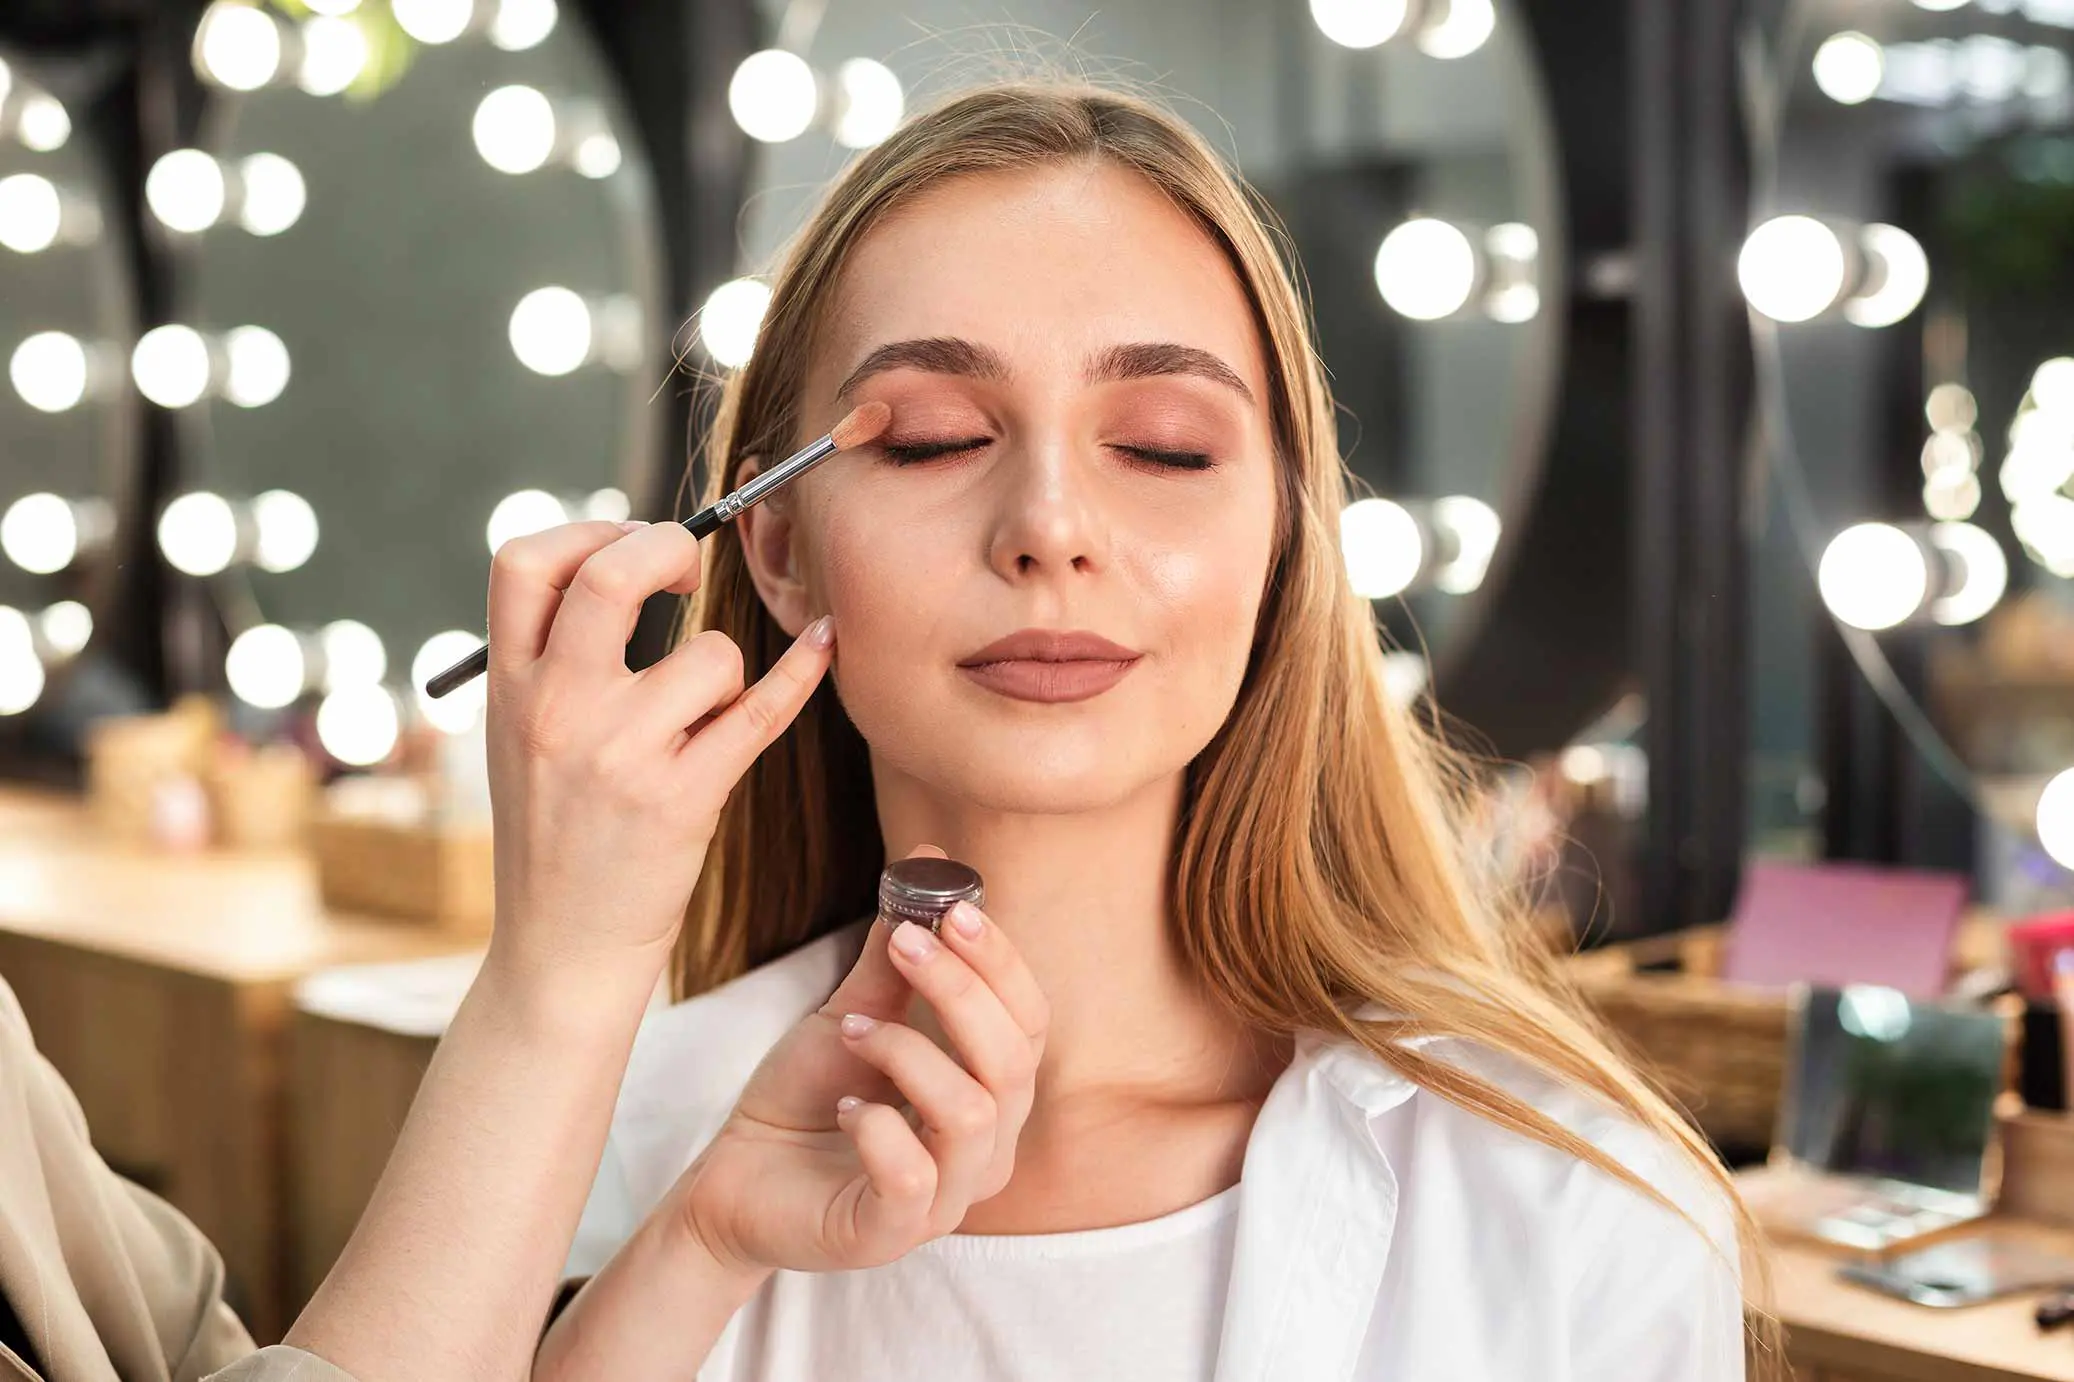
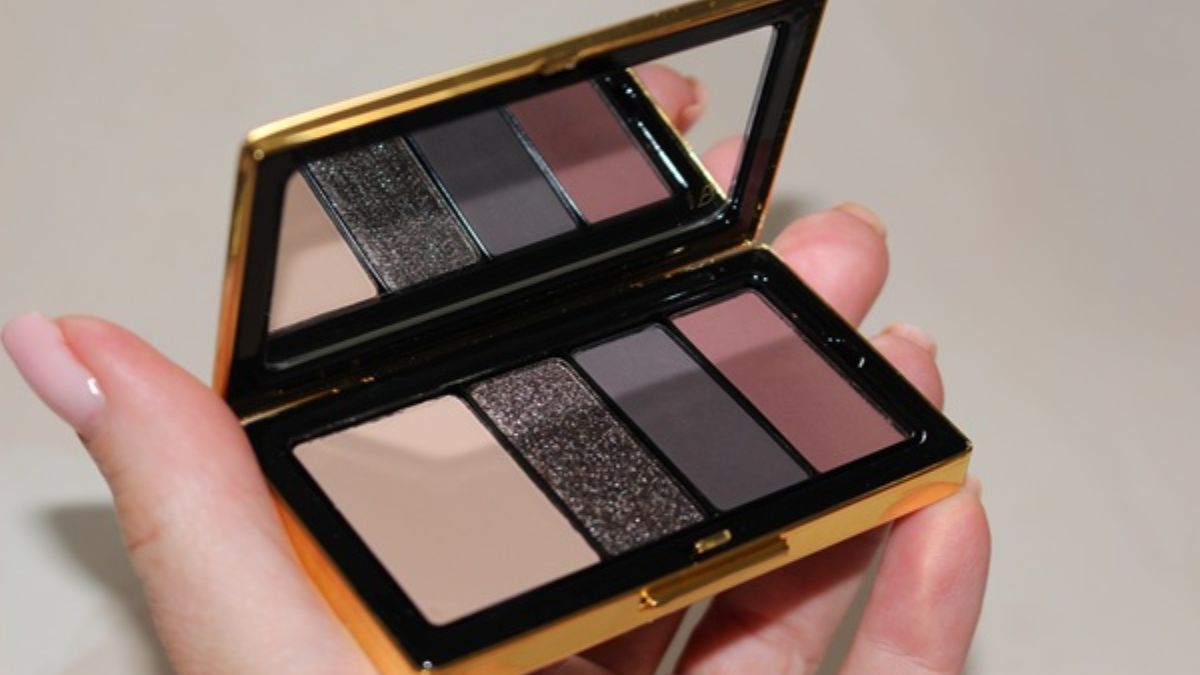
10. Eyeshadow Essentials
You don’t need to be a pro to rock a gorgeous eyeshadow look. Here’s a foolproof method:
- Base Shade: Apply a neutral base shade all over your lid.
- Crease Color: Use a slightly darker shade in your crease to add depth. Blend it out with a fluffy brush.
- Lid Pop: Add a shimmery or bold shade to the center of your lid for a pop of color.
- Highlight: Don’t forget to highlight your brow bone and inner corners with a light, shimmery shade.
11. Line It Up
Eyeliner can transform your look in seconds. For a classic look, opt for a black or brown liner along your upper lash line. If you’re feeling adventurous, go for a winged liner. Start small—remember, you can always add more, but it’s harder to take away!
12. Lashes for Days
Whether you’re a mascara girl or love falsies, this step is essential. Curl your lashes before applying mascara to give them a lift. Apply two coats of your favorite mascara, wiggling the wand from the base to the tip of your lashes.
- Tip: For extra drama, apply a coat of mascara to your bottom lashes as well.
Lips That Speak Volumes
Your lips are the finishing touch to your makeup masterpiece. Here’s how to perfect that pout.
13. Prepping Your Lips
Before applying any lip product, make sure your lips are smooth and hydrated. Use a lip scrub to exfoliate any dead skin and follow up with a hydrating lip balm.
14. Lip Liner Love
Lip liner isn’t just for the ’90s! It’s back and better than ever. Use a liner that matches your lipstick to outline your lips and prevent any bleeding. For a fuller look, slightly overline your lips, focusing on the cupid’s bow and the center of your bottom lip.
15. Lipstick or Gloss?
This is where you can really have fun. If you’re going for a bold look, choose a matte lipstick in a bright or dark shade. For something more subtle, a nude gloss will do the trick. Apply your lipstick or gloss starting from the center of your lips and blending outwards.
- Tip: Blot your lips with a tissue after the first application, then apply a second layer for longer-lasting color.


Final Touches and Setting Your Look
You’re almost done! Just a few more steps to ensure your makeup stays flawless all day (or night) long.
16. Setting Spray Saviour
Setting spray is the cherry on top of your makeup routine. It helps meld all the layers of your makeup together and keeps everything in place. Hold the spray about 10 inches away from your face and spritz a few times in an “X” and “T” motion.
17. Double-Check
Before heading out, take a quick look in natural light. Sometimes, what looks good in your bathroom mirror can be a whole different story in daylight! Make any necessary touch-ups, and you’re good to go.
Frequently Asked Questions (FAQs)
Q: How do I choose the right foundation shade?
A: The best way to find your perfect foundation shade is to test it on your jawline in natural light. The right shade should blend seamlessly into your skin without any noticeable lines.
Q: What’s the easiest way to apply eyeliner?
A: Start with a pencil liner to trace the line along your lash line. Then, go over it with liquid liner for a more defined look. If you’re new to winged liner, try using tape to create a sharp edge.
Q: How can I make my makeup last longer?
A: Priming your skin before makeup and setting it with a powder and setting spray are key steps. Also, avoid touching your face throughout the day to prevent smudging.
Q: Is it necessary to use a lip liner?
A: While it’s not a must, lip liner can really help define your lips, prevent your lipstick from bleeding, and make your lip color last longer.
Conclusion
And there you have it—a complete, easy makeup tutorial, step by step, that anyone can follow! Remember, practice makes perfect, so don’t get discouraged if it doesn’t turn out exactly as you imagined the first time. Makeup is all about expressing yourself, having fun, and enhancing the natural beauty that’s already there. So grab your tools, try out these steps, and rock that gorgeous look with confidence!
With a bit of practice, you’ll be nailing this routine in no time, ready to conquer any occasion with a stunning face forward. Now go ahead and slay, gorgeous.


Leave a Reply Cancel reply